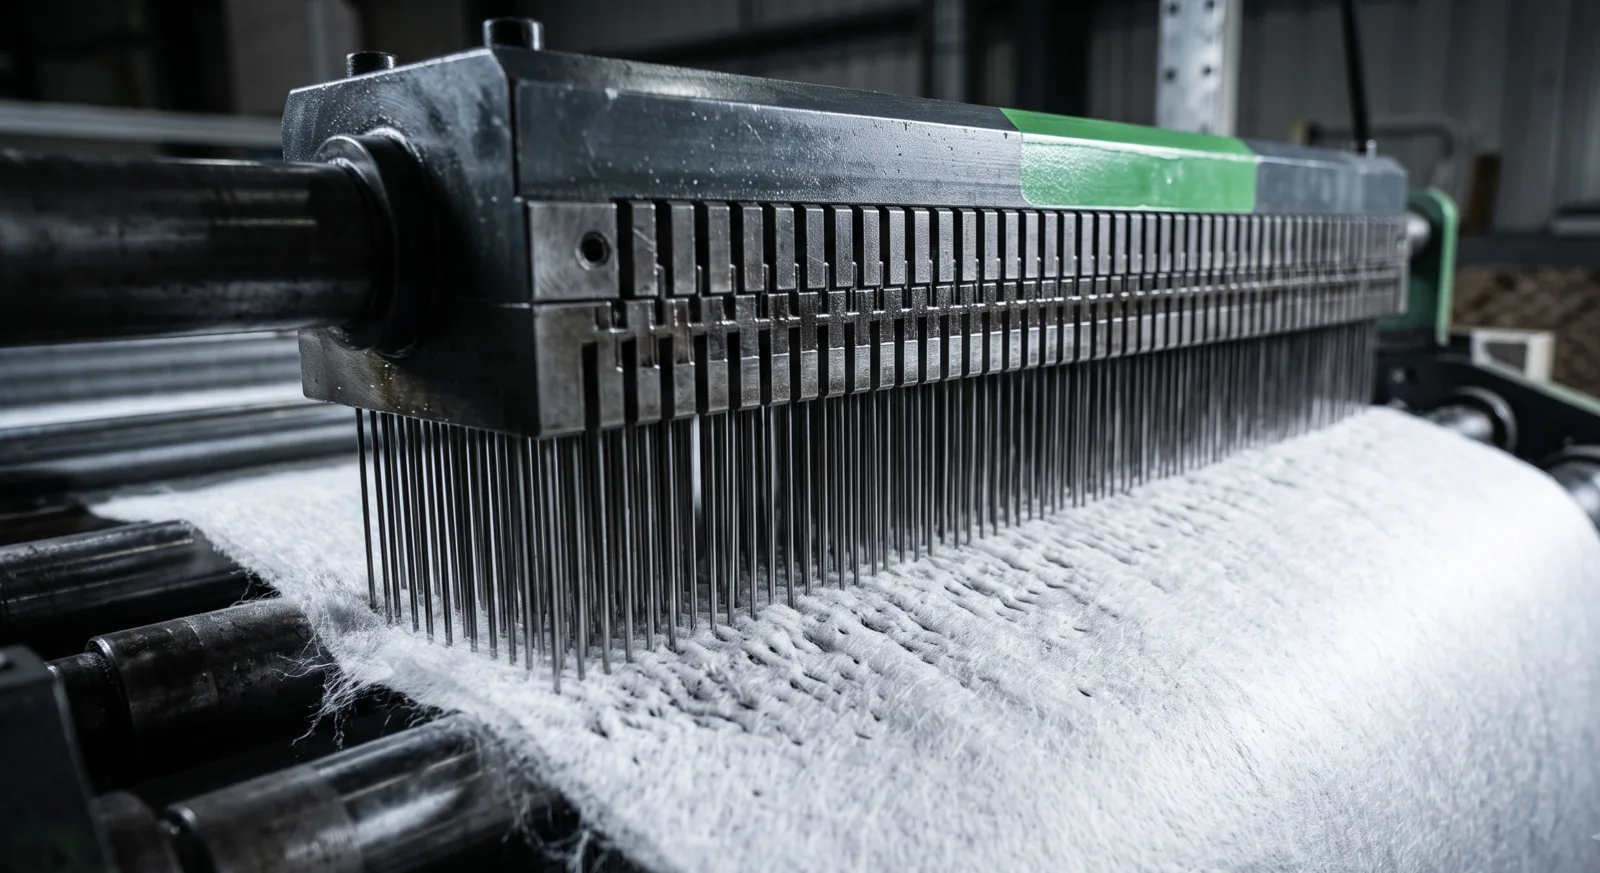
A needle beam is the structural frame member of a needle loom that holds and clamps the needle boards and drives the entire needle assembly up and down through the fiber web. Put simply: the board carries the needles, and the beam carries the boards and transmits the punching force from the drive down into the web. Needle beams typically use mechanical or pneumatic board clamping and are built in welded or extruded execution.
Needle beam vs. needle board
This is where most spare-part enquiries go wrong, because on the shop floor the whole assembly tends to get called “the needle board”:
- Function: the board holds and guides each individual needle; the beam holds the board and delivers the reciprocating stroke.
- Order in the assembly: needle → needle board → needle beam → the machine’s drive (connecting rods, eccentric shaft).
- Wear behaviour: needles and boards are consumables replaced on a cycle; the beam is a structural part meant to last.
- Scale of the consequences: a bad board gives uneven needle holes and localized breakage in that zone; a misaligned beam carries the error across the entire working width, causing mass breakage and heavy vibration.
- Remedy: a failed board gets replaced; a beam gets realigned or its clamping system reworked, and is only replaced once the body or mounting face is damaged.
Which is why a machine that keeps snapping needles after fresh boards and fresh needles have been fitted is usually telling you about the beam, or about beam alignment — not about the needles.
Construction and executions
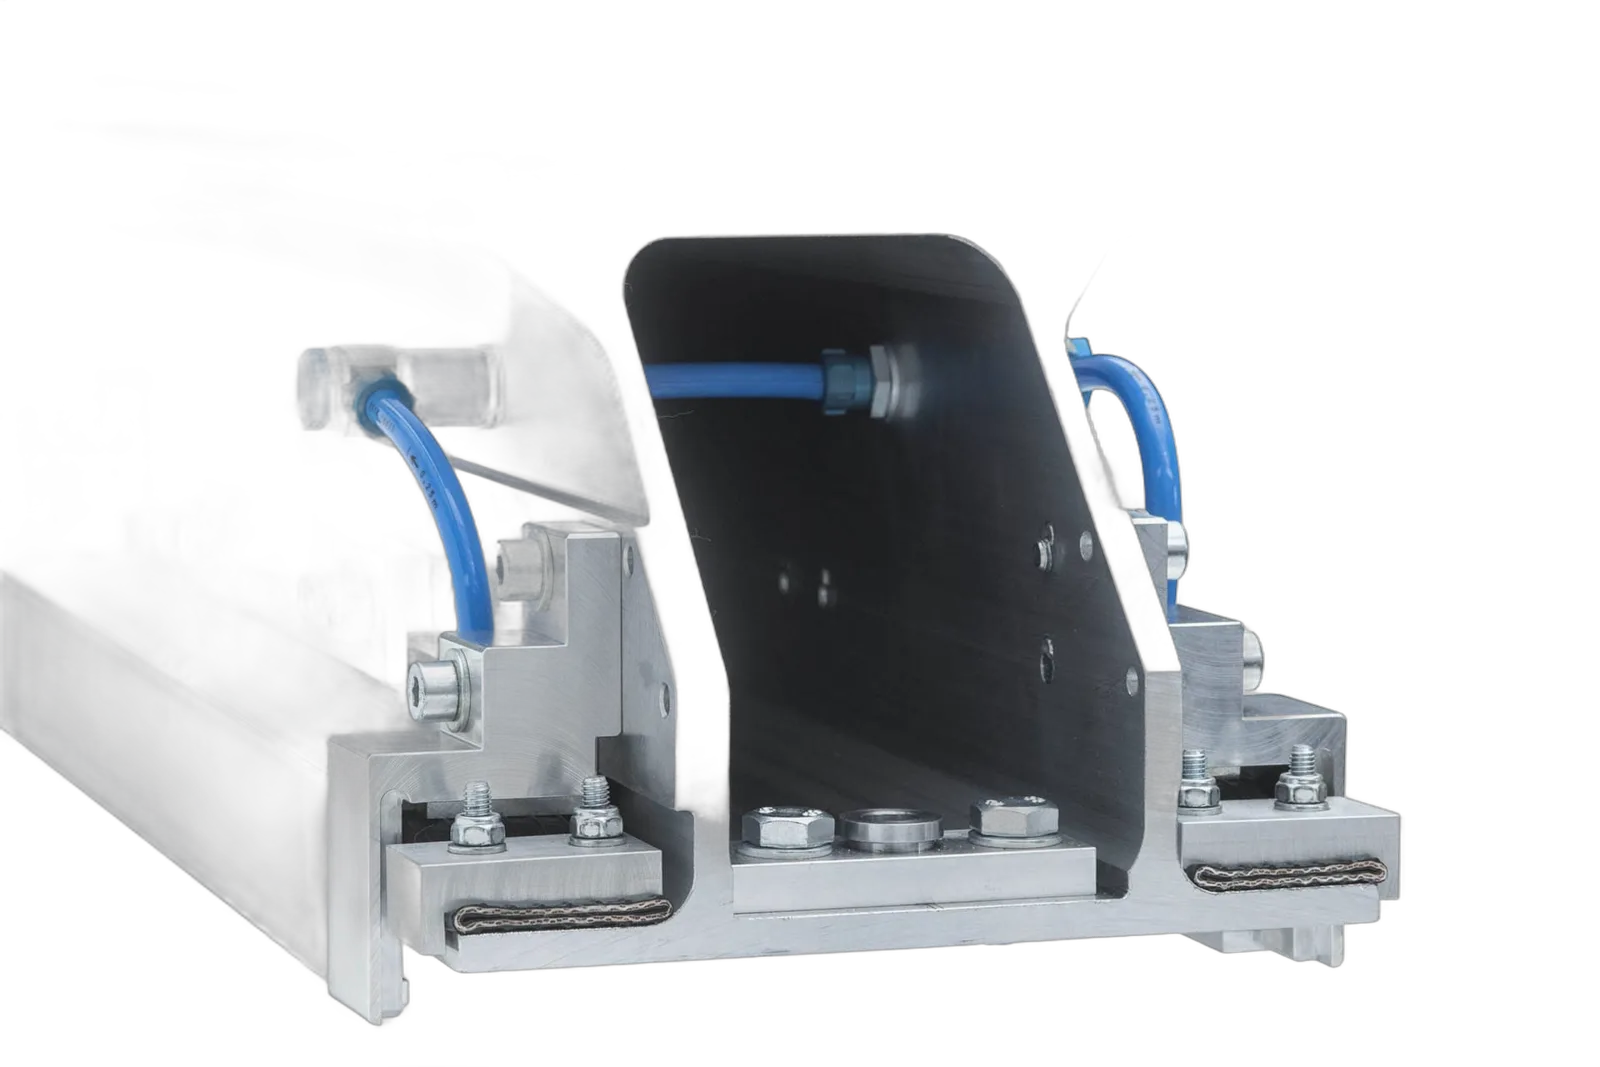
A needle beam consists of the beam body spanning the working width, the board mounting face with its clamping system, and the connection points to the machine’s drive. Two executions are common: welded, a body built up from steel sections, typically a box structure; and extruded, a profile with a constant cross-section along its length, giving a better stiffness-to-weight ratio. Clamping likewise splits two ways: mechanical clamping is simple and robust, but board changes are slow and the force depends on whoever is holding the wrench, so it easily ends up uneven; pneumatic clamping is more even, more repeatable and much faster to change boards — worth having in any plant that switches needle patterns often.
Why rigidity, weight and flatness govern needling precision
Through the needle-punch process the beam assembly reverses direction continuously at a high stroke rate, and three of its properties feed straight into fabric quality.
Rigidity. As the needles penetrate the web, the reaction force loads the beam along its whole working width. Even slight deflection or twist means penetration in the centre differs from the edges, and the fabric comes off the line with thickness, density and strength varying across the width — which is why beams are box sections or extruded profiles rather than solid bars.
Weight. The heavier the reciprocating mass, the larger the inertia forces at each reversal — and with them vibration, load on bushings and connecting rods, and noise. A lighter beam that is still stiff enough lets the machine run at a higher stroke rate with vibration under control; the same logic drives the move to lightweight composite boards.
Flatness and alignment. The beam has to stay parallel to the stitching plate and the stripper plate so every needle passes through the centre of its hole. A beam slightly out of true — or a mounting face made uneven by fiber dust trapped under the board — pushes needles off-centre, giving mass breakage plus scoring on the plate.
Lamella segments in structuring needle looms
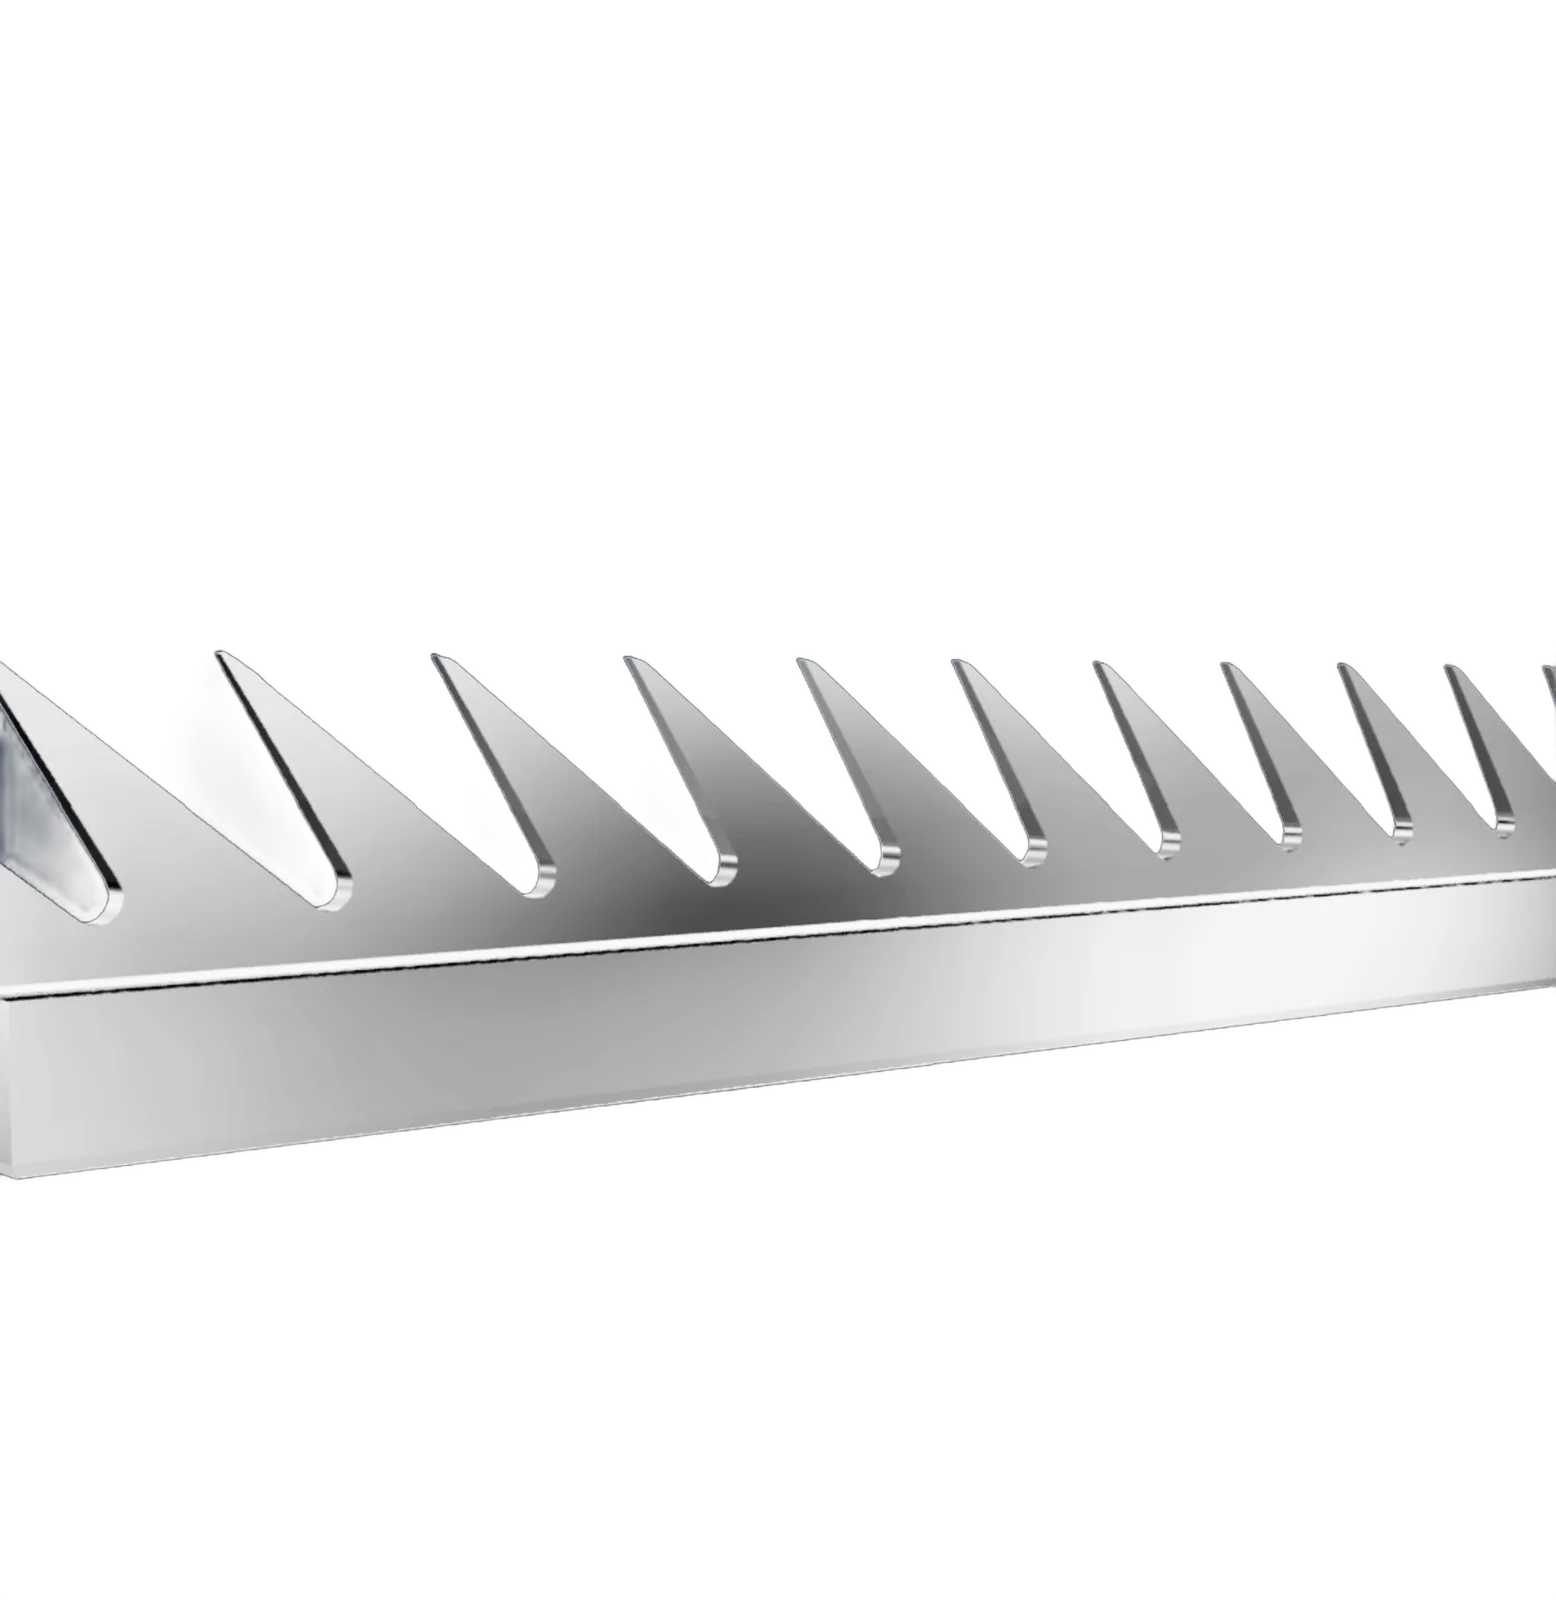
On a structuring needle loom, the needling zone also contains lamella segments. The lamellas help form the structured fabric surface for floor coverings, floor mats and car interiors; sitting directly in the needles’ working zone, they are wear parts and must be replaced at set intervals to keep surface quality consistent.
Their relationship with the beam is tight: the needles must travel cleanly through the gaps between segments, so any error in beam flatness or alignment shows up as needles striking lamellas — broken needles and damaged segments. Troubleshooting breakage on a structuring loom therefore means inspecting beam, boards and lamella condition together.
Symptoms of a needle beam problem
- Mass needle breakage spread along the whole line, recurring even after new boards and new needles.
- A marked rise in vibration and noise, most obvious as machine speed goes up.
- Fabric uneven across the width: penetration, thickness and strength differing between centre and edges.
- Boards working loose during a shift and needing repeated retightening — worn clamp elements, or air leaks and pressure loss on a pneumatically clamped beam.
- Scoring or impact marks recurring at exactly the same position on the stitching plate or stripper plate.
Alignment and maintenance
- Check the beam’s parallelism to the stitching plate and stripper plate on a fixed schedule, and after every bulk board change.
- Clean the mounting face thoroughly before refitting a board: a thin film of fiber and dust underneath is enough to tilt it.
- Tighten clamp elements in the sequence and to the torque the machine builder specifies; never raise the torque yourself “to be safe”.
- On pneumatic systems: check for leaks, drain condensate, change air filters, keep supply pressure steady.
- Watch the clearance in bushings, connecting rods and the guide assembly — wear there costs the beam its true line of motion even when the beam is sound.
- Log needle breakage by position across the width: breakage clustered in one zone points at the board, breakage spread evenly points at the beam.
When to rework, and when to replace
Rework is enough when the body still holds its shape, the mounting face is still flat, and the problem sits in the clamping system or the needle pattern. Two common routes: replacing an old mechanical board-clamping system with a new pneumatic one, and needle pattern reconstruction when the pattern or density has to change to run a new product.
Replacement is the answer when the body is deformed or cracked, the mounting face has worn out of flat, or the machine is old enough that clamping-system parts are no longer available. Beams are made to the individual machine, so an enquiry should state the manufacturer, model, working width and existing clamping type.
Conclusion
Needles and boards are the consumables you replace often; the beam is the structural part you align and monitor. Telling the two apart is what lets you trace needle breakage to its real cause, replace the part that actually needs replacing, and keep fabric quality even across the full working width.
Vina Nonwoven supplies needle beams, lamella segments and a full range of components and spare parts for nonwoven machines, made to your exact machine across many manufacturers and needle-loom generations, plus the mechanical-to-pneumatic board-clamping upgrade — contact us by hotline or Zalo for technical advice and a quote.